
Last Updated: October 22, 2026
Quick Summary
How to prepare used furniture for resale starts with evaluating structural integrity, cleaning thoroughly, removing old finishes, and making repairs matched to the material. Price based on all-in costs and local sold comps, disclose all damage honestly, and photograph in natural light to attract buyers.
- Assess frame, joints, and structure first, cosmetic damage is fixable, but structural problems are expensive and not worth your time.
- Clean with mild soap and water, then use paint stripper or sanding to remove old finishes before applying primer and paint.
- Track every repair cost including materials, hardware, and your hours to calculate all-in cost and set a realistic price.
- Disclose all damage, repairs, and materials used in the listing to build buyer trust and reduce returns or disputes.
- Price based on sold local comps in the same condition tier, not asking prices, and build in a markdown cushion for negotiation.
Table of Contents
- Assess Your Furniture’s Condition and Resale Potential
- How to Clean Furniture Before Painting or Refinishing
- Remove Existing Finishes and Prepare Surfaces
- Used Furniture Repair and Refinishing
- How to Price Used Furniture for Resale
- Furniture Consignment Preparation and Listing
- Final Steps Before Resale: Disassembly and Logistics
- Conclusion
- Frequently Asked Questions
Assess Your Furniture’s Condition and Resale Potential
Learning how to prepare used furniture for resale starts with honest evaluation. Not every piece is worth refinishing, some cost more to repair than they’ll sell for, and others are unsafe to sell.
Examine the frame, joints, and structure for rot, water damage, or weakness. Check that drawers and doors open smoothly, test moving parts, and feel for deep gouges or splintering.
What to Look For When Evaluating Pieces
Structural integrity matters most. A wobbly table or a dresser with broken drawer slides may not be worth your time. Cosmetic damage is fixable; structural problems are expensive.
Ask yourself:
- Does the frame feel solid when you push on it?
- Are all joints tight, or do they wiggle?
- Are there signs of water damage or staining?
- Does the wood have deep cracks or rot?
- Are legs, arms, or other parts broken or missing?
If a piece fails on structure, skip it.
Veneer and wood type affect your approach. Veneer can’t be sanded aggressively, so identify it first. Run a fingernail along edges: a thin layer over plywood or particle board means veneer; solid wood feels uniform throughout.
Safety Checks and Pest Prevention
Before bringing used furniture home or preparing it for resale, check for pests and hazardous materials. Inspect seams, joints, and undersides for droppings, staining, or musty odors, and treat any infestation before moving the piece.
Check for lead paint if the furniture predates 1978 (the EPA). If you suspect lead, don’t sand it, consider professional removal or skip the piece entirely.
Ensure hardware is secure and not rusted beyond use. Loose bolts or corroded metal can injure someone.
How to Clean Furniture Before Painting or Refinishing
Clean furniture is the foundation of good refinishing, dirt, grease, and grime prevent paint and stain from adhering properly.
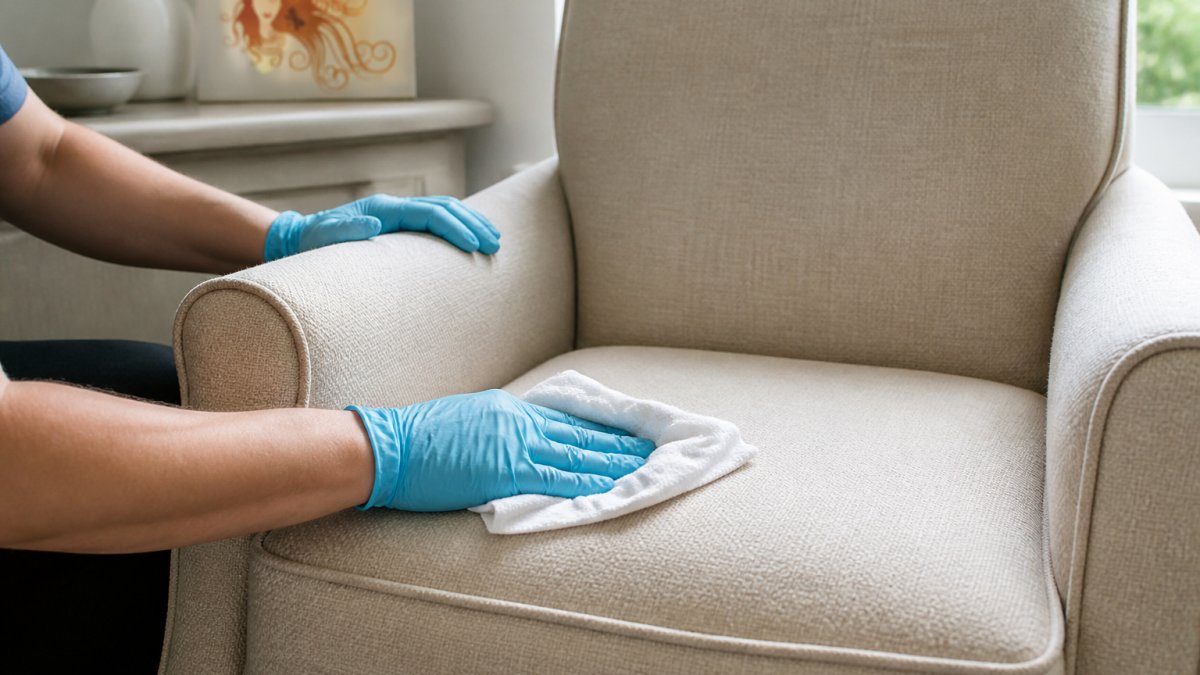
Degreasing and Deep Cleaning Methods
Start with a vacuum or soft-bristled brush to remove loose dust. For wood, wipe the surface with a wrung-out damp cloth and mild dish soap, working into crevices and carved details.
For stubborn grime, mix equal parts white vinegar and water, wipe on, then rinse with a clean damp cloth. Let the furniture dry completely, at least 24 hours in a well-ventilated space, since trapped moisture causes paint to bubble and peel.
Remove Existing Finishes and Prepare Surfaces
The existing finish must come off before you apply new paint or stain; the method depends on the current finish and the wood underneath.
Paint Stripper and Sanding Techniques
Paint stripper removes old finishes chemically. Apply per the product instructions, wearing gloves in a ventilated area, and let it sit 15-30 minutes.
Sanding smooths the surface and helps new paint stick. Start with 150-grit for rough surfaces, move to 220-grit, and sand with the grain using light pressure, heavy pressure creates gouges.
For veneer, use only 220-grit or finer and sand lightly, aggressive sanding damages the thin top layer.
After sanding, wipe the surface with a tack cloth to remove all dust. Dust particles under paint create a rough, bumpy finish.
Used Furniture Repair and Refinishing
Once the surface is clean and prepared, address any damage, but match the repair and finish to the material. The most common resale mistake is applying one method to every piece; solid wood, veneer, laminate, metal, and upholstery each fail differently.
Fixing Loose Joints, Scratches, and Dents
Loose joints weaken furniture and signal poor quality to buyers. Tighten bolts and fasteners.
Match the filler to the material. On solid wood, use tintable wood filler sanded flush and touched up with stain or paint.
For deeper dents in solid wood, the damp-cloth-and-iron technique can raise crushed grain: place a damp cloth over the dent, apply heat briefly, let it dry, then sand smooth.
Replace missing hardware rather than repairing corroded pieces. New knobs, pulls, hinges, and glides are inexpensive and improve appearance significantly.
Material-Specific Preparation Before Primer and Paint
Solid wood tolerates sanding and stripping well and is the most forgiving material for a first-time refinisher.
Veneer is a thin layer over plywood or particle board and cannot be sanded aggressively.
Laminate won’t take stain and resists many paints without a bonding primer.
Metal needs rust removed and a metal-specific primer before paint. Sand or wire-brush rust to bare metal, treat the area, and prime promptly so flash rust doesn’t return.
Upholstery is a separate track: vacuum thoroughly, spot-clean per the fabric code, and decide early whether you’re cleaning or re-covering.
Primer, Paint, and Protective Finishes
Primer is essential for paint adhesion, and the type depends on the surface: stain-blocking over dark wood or knots, bonding over glossy laminate or metal, standard over bare sanded wood. Apply one coat, dry per the label, and sand lightly.
Handle old finishes safely. If the piece predates 1978, assume the paint may contain lead until you test it. Don’t dry-sand suspected lead paint; if lead is present, skip the piece or use chemical stripping with proper ventilation and containment.
Let paint cure fully before moving or using furniture. Most paints need 24-48 hours to harden completely, even if they feel dry to the touch. A finish that’s dry to the touch can still print or peel under a moving blanket.
Don’t mix finish types on one piece without testing. A water-based topcoat over an oil-based stain, or the reverse, can fail to adhere or cure. Test on a hidden surface first, and note the products you used so you can disclose them accurately in the listing.
How to Price Used Furniture for Resale
Pricing is where resale preparation either pays off or stalls. A workable price comes from three inputs: your all-in cost, the local comp range for that exact piece in that condition, and your selling channel. Build the number in that order to avoid pricing from emotion or from a single listing.
Calculating Repair Costs and Profit Margin
Track every dollar before you set a price. Create a simple cost sheet for each piece:
- Acquisition cost (what you paid, or $0 if it was already yours)
- Cleaning supplies and consumables (degreaser, tack cloths, rags)
- Stripper, sandpaper, primer, paint, and sealer
- Replacement hardware (knobs, pulls, hinges, glides)
- Any paid labor (upholsterer, welder, glass cutter)
- Your own hours, logged honestly
Add those lines for your all-in cost, subtract it from your realistic sale price for gross profit, and divide by your logged hours for an effective hourly rate.
Set a repair budget as a percentage of expected sale price. A common rule of thumb is to keep material and paid-labor repairs under roughly a third of the realistic sale price.
Price for the channel. Local pickup marketplaces reward competitive pricing because buyers compare within a small radius.
Build in a markdown cushion. Price slightly above your target net so you have room to negotiate or drop the price after two or three weeks without going below your floor. A piece that sits unsold for a month costs you storage space and attention; a modest early markdown usually beats a long sit.
The best pieces for resale are those that need cosmetic work, not structural repair. A dresser needing paint sells quickly. A dresser needing new drawers does not, and the cost sheet will tell you which one you’re holding before you invest another hour.
Disclosure and Buyer Trust
Honesty is a pricing tool, not just an ethic. Disclose all damage, repairs, and materials used, minor scratches under new paint, replacement hardware, a paint-and-primer combo rather than separate coats.
If you sell through a consignment shop, hand over your cost sheet and disclosure notes so the shop can represent the piece accurately. A shop that knows the repair history can answer buyer questions without calling you, which shortens time-to-sale.
Furniture Consignment Preparation and Listing
Presentation matters enormously. How you photograph and describe the piece influences whether someone buys it.
Product Photography and Staging
Take photos in natural light near a window during daytime, avoiding flash glare and distortion. Clean the furniture thoroughly first, dust and smudges suggest poor care. Show multiple angles, close-ups of details and hardware, and the full piece for scale. Write clear descriptions covering dimensions, materials, condition, repairs, and accurate color, and describe wear honestly.
Condition Disclosure and Documentation
Document the condition with before-and-after photos. Create a simple condition report listing repairs made, materials used, and current condition, and include it in the listing to reassure buyers. If the piece is vintage or has history, share it, provenance and character appeal to buyers.
Final Steps Before Resale: Disassembly and Logistics
Before a buyer takes the piece, prepare it for transport and delivery.
Disassemble where possible, remove legs, drawers, and doors, label each part, and photograph the disassembled state for reference. Wrap delicate surfaces with blankets or moving pads, protect corners and edges, and bubble-wrap hardware or decorative elements.
For local sales, many buyers arrange their own pickup. If you’re using a consignment shop like Le Rouge Tete, our convenient local pickup service makes delivery simple for customers.
For shipping, calculate costs accurately. Heavy furniture shipping is expensive. Factor shipping into your pricing before listing.
Never ship furniture without proper insurance. Damage in transit is costly. Verify the buyer’s address and delivery requirements before finalizing the sale.
Conclusion
Understanding how to prepare used furniture for resale requires planning, work, and honest assessment, from evaluating condition through cleaning, repairs, smart pricing, and clear presentation.
At Le Rouge Tete, we’ve spent over 16 years helping people buy and sell furniture in our community. Our unique ‘live in’ store layout lets customers visualize pieces in their own homes. We handle the consignment process seamlessly with our 50/50 split policy and no end dates on consignments.
Frequently Asked Questions
What is the best way to clean furniture before painting?
Start by vacuuming upholstered pieces and wiping wood surfaces with a damp cloth to remove dust and loose debris. For greasy residue or buildup, use a degreaser diluted with water or a mild dish soap solution. Wipe thoroughly with clean water and allow the furniture to dry completely before sanding or applying primer. Proper cleaning ensures better paint adhesion and a professional finish.
How do you inspect used furniture before reselling it?
Examine the frame for structural integrity by checking for loose joints, cracks, or warping. Look for water damage, stains, or pest evidence. Test drawers and moving parts. Check veneer for peeling or damage. Assess upholstery for tears, odors, or discoloration. Document any issues with photos. This inspection determines whether repairs are worthwhile and helps you price the piece accurately based on its actual condition.
How do you price used furniture for resale?
Research similar pieces on resale platforms and local consignment shops to establish market value. Subtract the cost of any repairs, cleaning, and materials needed to restore the piece. Factor in your time investment and desired profit margin. For higher-end furniture, consider original retail price, brand reputation, and condition. Be realistic about demand and local market trends. Transparent pricing based on actual condition builds buyer trust and improves sales likelihood.
Should you refinish furniture before reselling it?
Refinishing makes sense if the piece has significant damage, outdated finishes, or if refinishing costs are less than the price increase it will command. Minor wear, patina, or vintage finishes may appeal to certain buyers and require no work. Assess whether the time and material costs justify the potential price increase. Well-executed refinishing improves buyer appeal and resale value, but unnecessary work cuts into profit margins.

