
Table of Contents
- Why You Don’t Always Need to Sand Old Wood Furniture
- Preparation and Cleaning Methods
- How to Use Liquid Deglosser on Furniture
- DIY Wood Scratch Repair Without Refinishing
- Best Furniture Polish for Old Wood
- Applying Wood Stain Without Stripping the Existing Finish
- Common Mistakes to Avoid When Refreshing Wood Furniture
- Frequently Asked Questions
Last Updated: September 1, 2026
Why You Don’t Always Need to Sand Old Wood Furniture
Most people assume that refreshing old wooden furniture requires stripping it down to bare wood and starting over. That’s not true. You can refresh wood furniture without sanding by using the right preparation techniques and protective finishes. The key is understanding when sanding is actually necessary and when it’s not.
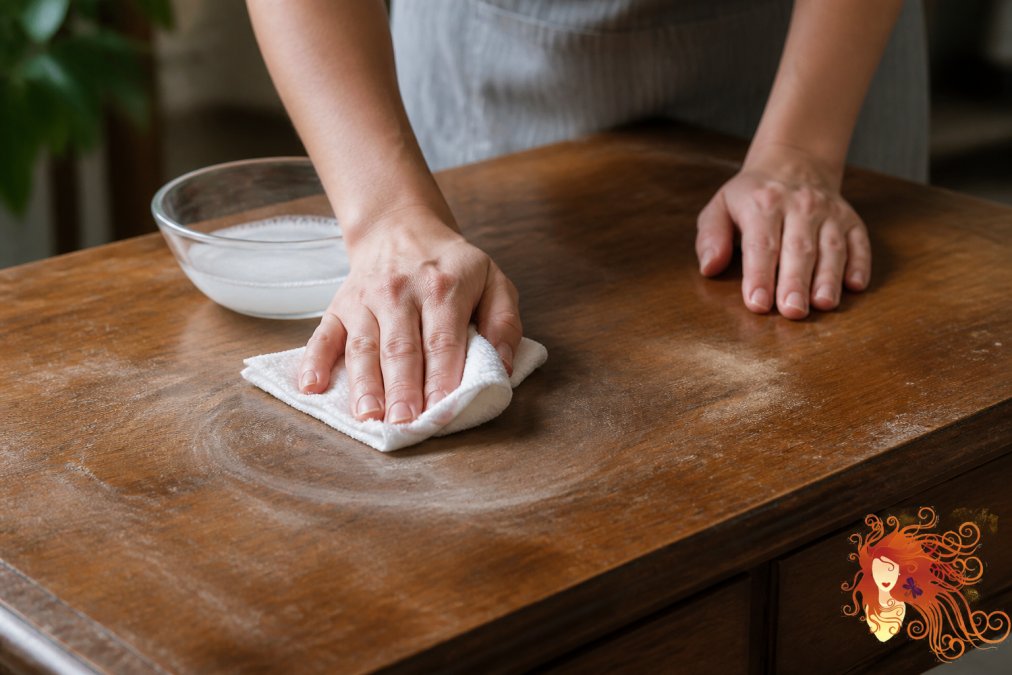
Sanding makes sense if you’re dealing with deep gouges, severe finish failure, or a complete refinish. But if your furniture’s wood grain is intact, the finish is just dull, or you want to maintain the patina and character of an older piece, you have better options. Many pieces that arrive looking tired come back to life with proper cleaning, deglazing, and protective finishes.
The approach you choose depends on what’s actually wrong with the piece. Is it dusty and grimy? Adhesive residue from stickers or tape? Minor scratches? A dull finish that just needs refreshing? Each problem has a targeted solution that doesn’t require sanding.
Preparation and Cleaning Methods
Before you apply any new finish, the surface must be clean. This is non-negotiable. Dust, grime, and old polish buildup will interfere with stain absorption and topcoat adhesion, creating a blotchy or uneven result.
Removing Dust, Grime, and Adhesive Residue
Start with a dry cloth to remove surface dust. Use a lint-free cloth to avoid leaving fibers behind. Microfiber cloths work exceptionally well for this step. Once the dust is gone, move to a damp cloth with mild detergent and warm water. The detergent cuts through old wax buildup and oxidation without damaging the wood.
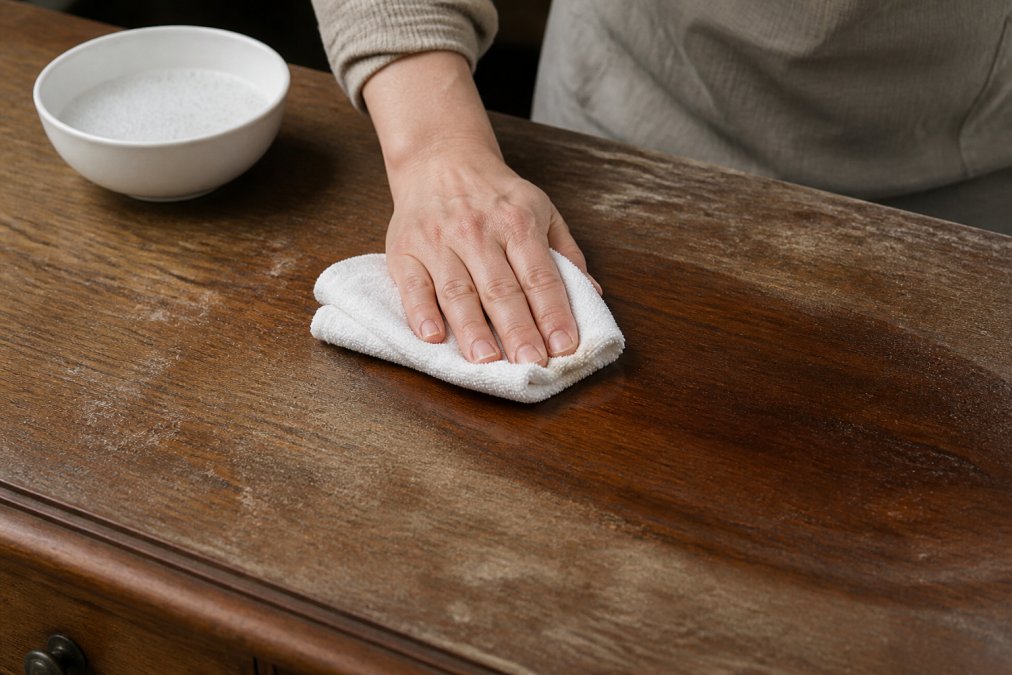
For adhesive residue from stickers, tape, or labels, rubbing alcohol on a cloth works effectively. Apply it directly to the sticky area and let it sit for 30 seconds before wiping. Don’t soak the wood. Work in small sections and dry immediately with a separate cloth.
After cleaning with soap and water, wipe the entire surface with a cloth dampened in plain water to remove soap residue. Then dry completely with a clean, lint-free cloth. Let the furniture air-dry for at least 30 minutes before moving to the next step. This ensures all moisture has evaporated.
Using a Degreaser for Stubborn Buildup
Some furniture has layers of old wax, polish, or oxidized finish that won’t come off with soap and water alone. A degreaser is your solution here. These products break down old finishes and buildup without the abrasiveness of sanding.
Apply the degreaser according to the product instructions, typically by spraying or wiping it onto the surface. Let it sit for the recommended time, usually 5 to 15 minutes. Then scrub gently with a soft brush or cloth. For heavily built-up areas, you may need to repeat this process. Once the buildup is gone, wipe clean with a damp cloth and dry thoroughly.
A degreaser is particularly useful on furniture that’s been heavily waxed over the years. Each application of wax builds on the last, eventually creating a sticky, dull surface. Degreaser dissolves these layers without requiring you to sand them away.
How to Use Liquid Deglosser on Furniture
Liquid deglosser is different from a degreaser. While degreaser removes buildup, deglosser chemically dulls a glossy finish so new stain or topcoat can adhere properly. This is the closest you get to sanding without actually sanding.
When Deglosser Works Best
Deglosser is ideal when your furniture has a shiny polyurethane or lacquer finish that’s still intact but looks tired. It’s also the right choice if you want to apply new stain without stripping the old finish completely. The deglosser removes the gloss and opens the wood pores slightly, allowing new finish to bond.
Deglosser doesn’t work well on wax finishes. Wax needs to be removed with degreaser first. Also, if the existing finish is already flaking, peeling, or severely damaged, deglosser won’t help. In those cases, you need to remove the failing finish mechanically or chemically before proceeding.
Step-by-Step Deglosser Application
Start with a clean, dry surface. If you’ve just cleaned the furniture, wait at least an hour for it to dry completely. Deglosser needs bare wood pores to work effectively.
Apply deglosser with a brush or cloth, following the wood grain. Use enough product to wet the surface but not so much that it pools. Work in manageable sections, roughly 2 to 3 square feet at a time. Let the deglosser sit for the time specified on the label, usually 15 to 20 minutes (the FDA).
While it’s sitting, the chemical breaks down the gloss and softens the finish slightly. You’ll see the surface begin to look duller. After the wait time, wipe with a cloth, again following the wood grain. The surface should feel slightly rough or matte now, not slick.
Let the furniture dry completely before applying new stain or topcoat. This typically takes 2 to 4 hours, depending on humidity and ventilation. Once dry, the wood is ready for your new finish.
DIY Wood Scratch Repair Without Refinishing
Minor scratches are inevitable on furniture. The good news is that most can be hidden or minimized without refinishing the entire piece.
Assessing Scratch Depth and Visibility
Not all scratches require the same fix. A light surface scratch that barely penetrates the finish can often be hidden with polish or wax alone. A deeper scratch that exposes the wood needs filler. A scratch that goes through to the raw wood and is visible from across the room might be worth more effort.
Run your fingernail across the scratch. If it doesn’t catch, it’s surface-level. If your nail catches slightly, it’s a shallow gouge. If your nail sinks in noticeably, it’s a deep scratch. Light scratches often disappear when you apply new polish or wax. Shallow gouges benefit from wood filler. Deep scratches may need both filler and stain matching.
Using Wood Filler and Touch-Up Techniques
For shallow scratches, use a wood filler that matches your furniture’s color. These come in various wood tones and are available at most hardware stores. Apply the filler with a small applicator or old credit card, pressing it firmly into the scratch. Overfill slightly, as filler shrinks as it dries.
Once dry, sand the excess smooth with fine-grit sandpaper (220-grit or higher) (peer-reviewed research). This is the only sanding you’ll do, and it’s minimal. Wipe away dust with a damp cloth and let dry. If the repair is visible, apply wood stain to match the surrounding area. A small artist’s brush works well for this.
For very light scratches, skip the filler entirely. Simply apply wood conditioner to the area, followed by matching stain and topcoat. This often blends the scratch so it’s barely noticeable.
The key is matching the color and sheen of the surrounding finish. Test your stain on an inconspicuous area first. Wood color varies significantly, and what looks right on the can may not match your specific piece.
Best Furniture Polish for Old Wood
The right polish restores shine, protects the wood, and can hide minor imperfections. There are three main types: wax-based, oil-based, and liquid polishes. Each has different properties and best uses.
Choosing Between Wax, Oil, and Liquid Polishes
Wax-based polish creates a hard, protective layer and builds shine with repeated applications. It’s durable and works well on high-traffic furniture. However, wax can build up over time and become sticky or dull. When this happens, you need degreaser to remove the old layers before applying new wax.
Oil-based polish penetrates the wood and enhances the wood grain beautifully. It’s ideal for furniture where you want to showcase the natural wood color and pattern. Oil doesn’t create as much surface protection as wax, so it’s better for pieces that aren’t heavily used. Oil also requires more frequent reapplication.
Liquid polishes are typically synthetic finishes that clean, shine, and protect in one step. They’re convenient and don’t build up like wax. Many liquid polishes dry to a satin or matte finish rather than high gloss, which suits modern aesthetics. They’re a good choice if you want easy maintenance without the ritual of buffing.
Buffing and Protecting the Finish
Apply your chosen polish with a soft cloth, working in the direction of the wood grain. Use moderate pressure and circular motions. For wax, apply a thin, even coat and let it dry to a haze (usually 5 to 10 minutes). Then buff with a clean cloth using firm, circular motions. Buffing brings out the shine and removes excess product.
For oil-based polish, apply and immediately buff. Oil doesn’t haze like wax, so the timing is different. Wipe away any excess to prevent a sticky residue.
Liquid polish typically dries quickly. Apply, let it dry according to the label, and buff lightly if desired. Many liquid polishes don’t require buffing at all.
The frequency of polish application depends on use and product type. Wax typically lasts 4 to 8 weeks on heavily used furniture. Oil needs reapplication every 2 to 4 weeks. Liquid polish lasts 4 to 6 weeks. High-traffic pieces like dining tables need more frequent reapplication than display furniture.
Applying Wood Stain Without Stripping the Existing Finish
You can apply new stain over an existing finish without stripping it completely. This is where deglosser becomes essential. The key is proper surface preparation and choosing the right stain type.
First, clean the furniture thoroughly and apply deglosser as described earlier. Once the surface is dull and dry, you’re ready for stain. Gel stains work better than traditional liquid stains for this application because they’re thicker and less likely to raise the wood grain or bleed under the old finish.
Apply gel stain with a brush, following the wood grain. Work in manageable sections and wipe away excess with a cloth before it dries. Gel stain typically dries faster than liquid stain, so work efficiently. Let it cure for the time specified on the label before applying topcoat.
If you’re applying traditional liquid stain, test it on a hidden area first. Liquid stain can behave unpredictably over existing finishes, sometimes creating blotchy results. If testing shows good results, apply thin coats and build color gradually rather than applying one heavy coat.
Once your stain is dry, protect it with a topcoat. Polyurethane, lacquer, or wax all work, depending on your desired finish. A topcoat seals the stain and protects the wood from moisture and wear.
Common Mistakes to Avoid When Refreshing Wood Furniture
Understanding what not to do is as important as knowing what to do. These mistakes derail even well-intentioned restoration efforts.
Skipping the cleaning step is the most common error. People apply new finish directly over dust and grime, resulting in a blotchy, uneven appearance. Cleaning takes 30 minutes and makes an enormous difference.
Applying new finish over old wax without removing it is another frequent mistake. New stain or topcoat won’t adhere properly to wax. You must use degreaser to remove old wax first. This is non-negotiable.
Using the wrong type of cloth leaves lint and fibers on the surface. Always use lint-free cloths, microfiber cloths, or tack cloths. Cheap paper towels shed fibers that stick to wet finish.
Applying topcoat in humid conditions or cold temperatures causes problems. Polyurethane and lacquer need specific temperature and humidity ranges to cure properly. Apply finishes in conditions between 50 and 85 degrees Fahrenheit with humidity below 85 percent (the EPA).
Not allowing adequate drying time between coats creates a cloudy, weak finish. Read the product label and follow the recommended wait times. Rushing this step ruins the result.
Mixing different finish types creates adhesion problems. If the existing finish is polyurethane, apply polyurethane topcoat. Don’t layer lacquer over polyurethane or vice versa. The chemical incompatibility causes peeling and failure.
Over-applying polish or wax creates buildup that looks dull and sticky. Apply thin, even coats and buff thoroughly. More product doesn’t equal better results.
Refreshing old wooden furniture without sanding is entirely achievable with the right approach and materials. Proper cleaning, strategic use of deglosser, careful scratch repair, and quality protective finishes can restore furniture to like-new condition while preserving its character. If you’re working with consignment furniture or pieces you’ve owned for years, these techniques save time and money while delivering professional results. Start with thorough cleaning, assess what the piece actually needs, and apply targeted solutions rather than assuming everything requires sanding. The difference in outcome is remarkable.
Frequently Asked Questions
Can you really refresh old wood furniture without sanding?
Yes. Liquid deglosser, cleaning, and polishing can restore the appearance of wood furniture without sanding. This approach works best on finishes that are dull, oxidized, or have minor surface damage. For pieces with deep scratches, water damage, or peeling varnish, light sanding may still be necessary, but many older pieces respond well to deglosser and furniture polish alone.
What’s the best furniture polish for old wood?
The best choice depends on your wood’s current finish. Wax polish provides a protective sealant and warm sheen, oil-based polishes penetrate and nourish wood pores, and liquid polishes offer convenience and quick buffing. Test any product on a hidden area first. Look for formulas that include mineral spirits or natural oils to restore patina and wood grain visibility without leaving residue.
How do you remove scratches from wood furniture without sanding?
Minor scratches can be concealed with wood filler or touch-up stain that matches your furniture’s color. For deeper scratches, use a wood conditioner first to open the pores, then apply filler and buff with a lint-free cloth. Wax polish can also help blend shallow scratches into the surrounding finish. Assess scratch depth before choosing your repair method.
Can you use liquid deglosser instead of sanding?
Liquid deglosser is an excellent alternative to sanding for many projects. It removes the glossy topcoat and adhesive residue without creating dust or removing material from the wood. Apply it with a tack cloth, let it sit according to product instructions, then wipe clean. Deglosser works best on polyurethane, lacquer, and varnish finishes that are still intact but dull or sticky.
This article was written using GrandRanker