
Last Updated: November 11, 2026
Quick Summary
You can upgrade plain bookshelves affordably with a paint-only refresh, peel-and-stick wallpaper on the back panel, or added trim and new hardware. Paint delivers the biggest visual payoff for the smallest spend, and all three routes cost less than buying a new bookcase.
- A paint-only refresh is the cheapest upgrade route, costing paint, paper, and a Saturday.
- Prep laminate and particleboard with degreaser, sanding, tack cloth, and bonding primer before painting.
- Peel-and-stick wallpaper on the back panel is beginner-friendly and renter-friendly.
- Trim attached with adhesive and small nails changes the shelf’s silhouette without paint.
- Choose satin or semi-gloss paint in humid coastal homes and seal particleboard cut edges.
Table of Contents
- Why a Plain Bookshelf Is the Cheapest Furniture You Can Transform
- Tools for Bookshelf Renovation: What You Need and What You Can Skip
- Painting a Bookcase: The Upgrade With the Biggest Visual Payoff
- Bookshelf Makeover With Wallpaper: Pattern on Panels and Interiors
- Trim, Molding, and No-Paint Upgrades That Change the Silhouette
- Best Practices for Styling Bookshelves So the Upgrade Shows
- Coastal Durability: Salt Air, Humidity, and Reversible Rental Upgrades
- Source Your Next Bookshelf Makeover Piece Locally
- Frequently Asked Questions
Why a Plain Bookshelf Is the Cheapest Furniture You Can Transform
Plain bookshelves are the least expensive furniture you can make look expensive, and that gap is the whole opportunity. Most of us own one already: a basic bookcase, often laminate or pressed particleboard, doing quiet duty in a hallway or spare room. At Le Rouge Tete, we have spent over 16 years serving the Morehead City community, and plain bookshelves are a popular place to start a home refresh.
Here is the honest math. A new bookcase can cost considerably more than refreshing one you already own. You are not buying furniture. You are buying paint, paper, and a Saturday.
What a Makeover Actually Costs Before You Buy Anything
Budget first, shop second. A paint-only refresh is the cheapest route. Add peel-and-stick wallpaper and the cost climbs a little. Add trim and you are in the middle.
Your supplies break into three buckets:
- Prep: sandpaper, tack cloth, primer
- Finish: paint or wallpaper, plus adhesive
- Hardware: new knobs or brackets, if the shelf has them
Before you commit, visualize how the finished piece will sit in your living room. A shelf that looks great in the store can look wrong against your wall color.
Before you buy anything, here is how the upgrade routes stack up in cost.
| Upgrade route | Cost level | What it involves |
|---|---|---|
| Paint-only refresh | Cheapest route | Paint, paper, and a Saturday |
| Peel-and-stick wallpaper | Cost climbs a little | Pattern on the back panel |
| Adding trim | Middle | Molding, adhesive, small nails |
| Supplies buckets | Prep, finish, hardware | Sandpaper, primer, paint, knobs |
Tools for Bookshelf Renovation: What You Need and What You Can Skip
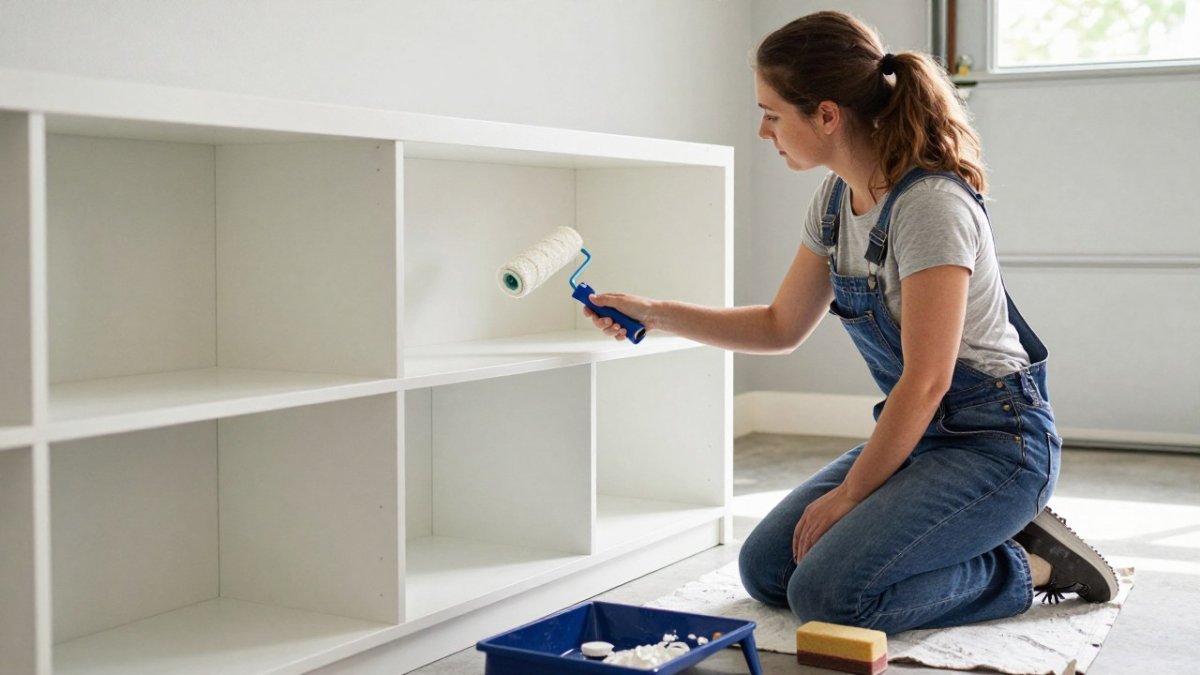
You need less than you think. A basic kit covers almost every project in this guide: a screwdriver, sandpaper in two grits, a tack cloth, a small roller, a brush for edges, and a drop cloth.
Skip the fancy stuff. You do not need a sprayer for one shelf. You do not need a full paint set. Buy what the job actually calls for.
A common mistake is buying a specialty tool for a single step. Borrow it or skip it. The American Coatings Association notes that proper surface prep matters more than premium tools, and that holds true here.
Painting a Bookcase: The Upgrade With the Biggest Visual Payoff
Paint delivers the largest change for the smallest spend, and it is the upgrade most likely to survive a side-by-side comparison with a new bookcase. A single coat of a modern color can turn a tired bookcase into a focal point, and it is the most forgiving upgrade because you can fix mistakes with another coat.
Choose a color that works with your room, not against it. Test a small patch first and check it in daylight, because a color that looks right under store lighting can shift against your wall.
What a Paint-Only Refresh Actually Costs
A paint-only refresh is generally one of the lower-cost routes in this guide. Material costs depend on the size of the piece, the products you choose, and what supplies you already own. Compare current material prices at your local hardware store before you start.
You are not buying furniture. You are buying paint, paper, and a Saturday.
Surface Preparation for Laminate and Particleboard
Laminate and pressed particleboard resist paint, so prep is not optional. Skip it and the finish will peel within months, especially in a humid coastal home.
Follow this order:
- Wipe the surface with a degreaser and let it dry completely.
- Lightly sand with medium grit to dull the shine. You are not removing the finish, only breaking the gloss.
- Wipe away dust with a tack cloth.
- Apply a bonding primer made for slick surfaces. Shellac-based and urethane-modified primers are the common categories sold for this job.
- Paint in thin coats, letting each dry fully. Two thin coats beat one thick coat every time.
Watch out: painting straight onto glossy laminate without sanding or primer is the number one reason DIY shelf paint fails. The finish looks fine for weeks, then chips at the edges where hands touch it.
Choosing a Finish for a Humid Coastal Home
In humid coastal areas, salt air and humidity can change what finish you should choose. Moisture swells particleboard and dulls some paints. A satin or semi-gloss paint resists moisture better than flat, and it wipes clean, which matters on a shelf that holds books, plants, and the occasional damp beach read.
Seal the cut edges of particleboard shelves before painting. Those edges absorb moisture fastest and are where swelling and bubbling start. A coat of primer on the raw edge is the cheap insurance.
Tools You Actually Need for a Paint Refresh
You need less than you think. A basic kit covers almost every paint project in this guide: a screwdriver, sandpaper in two grits, a tack cloth, a small roller, a brush for edges, and a drop cloth. That is the core.
Skip the fancy stuff. You do not need a sprayer for one shelf. You do not need a full paint set. Buy what the job actually calls for. A common mistake is buying a specialty tool for a single step.
Bookshelf Makeover With Wallpaper: Pattern on Panels and Interiors
A bookshelf makeover with wallpaper is the fastest way to add pattern without painting the whole piece. The back panel is your canvas. Cover it and the shelf instantly looks custom.
Peel-and-stick wallpaper is a beginner-friendly option. It goes on smooth, comes off cleanly, and can suit renters.
Measure the back panel before you buy. Cut with a little extra, smooth from the center out, and press the edges down firmly. A colorful pattern on the interior makes books and objects pop.
Trim, Molding, and No-Paint Upgrades That Change the Silhouette
Trim changes the shape of the shelf, and shape is what the eye reads first. A strip of molding along the top or base turns plain bookshelves into something that looks built in. This is the no-paint makeover for anyone who wants a bigger change without a brush.
Options that work:
- Add a thin trim along the top edge
- Attach decorative molding to the base
- Swap dated knobs for new hardware
- Add legs to lift the shelf off the floor
- Line the back with fabric for texture
Most trim attaches with adhesive and a few small nails. Sand the cut ends, fill the gaps, and paint the trim to match the shelf.
Best Practices for Styling Bookshelves So the Upgrade Shows
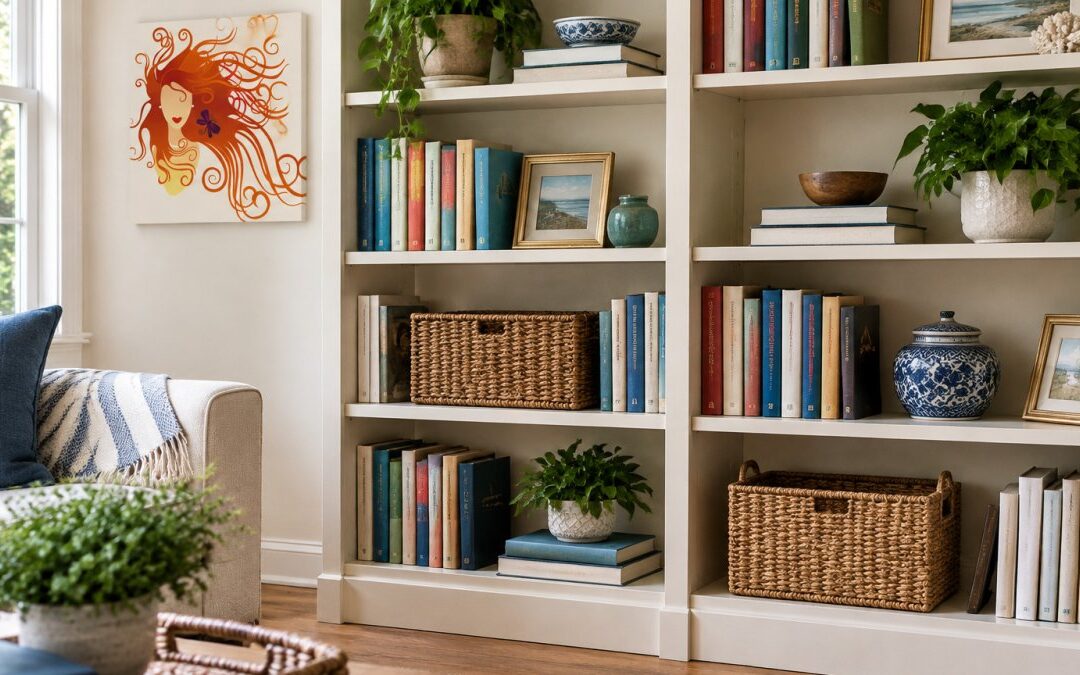
A finished shelf still needs styling, or the upgrade disappears under clutter. The goal is a lived-in look, not a showroom wall. Mix books, objects, and empty space in a rhythm the eye can follow.
Start with the biggest items and work down. Group books in odd numbers. Leave breathing room between objects. Add one textured piece, one natural element, and one thing with color.
For deeper guidance, our guide on how to style bookshelves for a lived-in look walks through the arrangement step by step. If you are placing consignment or secondhand pieces, our tips on how to style consignment furniture will help them sit naturally.
Coastal Durability: Salt Air, Humidity, and Reversible Rental Upgrades
Salt air and humidity can be real factors in coastal areas, and they can change what finish you should choose. Moisture swells particleboard, dulls some paints, and lifts adhesives that were never meant for a damp room. Plan for it before you start, because the fix after the fact costs more than the right product up front.
Finishes That Hold Up in Humid Air
Pick a finish made for humid rooms. A satin or semi-gloss paint resists moisture better than flat, and it wipes clean without dulling. Seal paper and fabric edges so damp air cannot lift them. Keep the shelf off exterior walls where condensation collects, and leave a small gap between the back panel and the wall so air can move.
For particleboard, the raw cut edges are the weak point. Prime them before painting, and avoid placing the shelf directly against a window that sweats in winter.
Adhesives and Wallpaper in a Damp Room
Peel-and-stick wallpaper is the beginner-friendly pick, but not every roll is built for humidity. Look for a removable wallpaper rated for bathrooms or kitchens, which are the humid rooms most manufacturers test for.
Watch out: applying standard peel-and-stick paper to a back panel that sits against an exterior wall is where coastal DIY projects fail. The paper looks fine for a season, then lifts at the bottom edge where condensation collects.
Reversible Upgrades for Renters and Vacation Properties
Renters and vacation property owners should lean reversible. Peel-and-stick wallpaper and removable trim come off clean, which matters when a lease ends or a rental turns over. The trade-off is that removable products cost a little more per roll than permanent ones, and removal can pull paint from a poorly prepped surface.
A common pattern is to test a small corner of the back panel first. Press a scrap of the paper down, leave it a week, then peel it up.
For pieces built to handle the coast, our guide to furniture for coastal interior design covers materials that hold up.
Source Your Next Bookshelf Makeover Piece Locally
The best makeover starts with the right piece, and you can often find it secondhand for far less than new.
Shopping in person lets you inspect the piece directly. Check for wobble, water damage, and missing shelves before you buy.
For budget tactics, our tips for thrift shopping on a budget will help stretch your supplies further.
Your plain bookshelf is not a problem to replace. It is a project waiting for a weekend. If you would rather start with a better piece, Le Rouge Tete can help.
Frequently Asked Questions
How do I make plain bookshelves look more expensive without painting them?
Line the back panel with peel-and-stick wallpaper or patterned wrapping paper, then add trim to the face frame and a plinth at the base. Both changes read as built-in cabinetry and cost far less than a new bookcase. Swapping out shelf hardware and styling with fewer, larger objects also lifts the look. These no-paint makeover options are reversible, which matters for renters and vacation rental owners who need to restore the piece later.
Can I upgrade a particleboard bookshelf without paint sticking poorly or peeling?
Yes, but surface preparation decides the result. Wipe the shelves with a degreaser, scuff the laminate or factory finish with 220-grit sandpaper, and apply a bonding primer made for slick surfaces before any paint. Skip the primer and the coating will scratch off within months. Avoid soaking particleboard edges, since water swells the core. Light coats dry faster and bond better than one heavy pass.
What are the best materials for a DIY bookshelf makeover?
The short list is bonding primer, a quality paint in a modern color, peel-and-stick wallpaper or patterned paper for the back panel, paintable trim or molding, construction adhesive, and a sanding block. Mod Podge works for decoupage on shelf interiors where paper needs sealing. Add a caulk line and a small trim piece and the bookcase reads as custom. Buy materials after measuring, since trim is priced by the linear foot.
How do I style a bookshelf to look like a professional home staging display?
Work in odd numbers, vary object heights, and leave roughly a third of each shelf empty so the eye can rest. Mix books with ceramics, framed art, and one plant per unit. Group by color rather than title, and place the largest item off-center. The best practices for styling bookshelves come down to restraint: three to five objects per shelf beats a crowded display every time, and it makes the upgrade itself visible.
