
Table of Contents
- Identify Your Wood Finish Before Cleaning
- Gather Essential Supplies and Tools
- How to Clean Vintage Wooden Furniture: Step-by-Step Process
- Cleaning Antique Wood Furniture Without Damaging Finish
- Homemade Wood Cleaner for Vintage Furniture
- How to Remove Grime from Old Wood Furniture
- How to Protect Vintage Wood Furniture After Cleaning
- Common Mistakes to Avoid
Last Updated: July 31, 2026
How to clean vintage wooden furniture is one of the most common questions homeowners face when acquiring pre-loved pieces. Over 40 million vintage and antique furniture pieces are purchased annually in the United States, yet many buyers lack the knowledge to properly maintain them. At Le Rouge Tete, our curated consignment store in Morehead City has spent over 16 years helping customers restore and preserve their furniture investments. Below, we’ll show you exactly how to clean vintage wooden furniture without damaging the finish, identify your wood type, and protect your pieces for years to come.
The biggest mistake homeowners make is jumping straight to cleaning without identifying their wood finish first. Test on an inconspicuous area with a solvent before touching visible surfaces, this single step prevents most damage.
Identify Your Wood Finish Before Cleaning
Understanding your wood finish is non-negotiable. The wrong cleaning product on varnish, shellac, or lacquer can strip the finish entirely, destroying both appearance and protection.
Testing for Varnish, Shellac, and Lacquer
The solvent test is the gold standard for identifying finishes. Gather cotton swabs and denatured alcohol. Apply a small amount of alcohol to a hidden area, the underside of a drawer, back of a leg, or inside a cabinet door. Wait 30 seconds. If the finish becomes sticky or tacky, you have shellac. If it remains hard, test with white vinegar on another spot. Vinegar will cloud lacquer slightly but won’t affect varnish. Document your findings before proceeding with any cleaning.
Why Finish Identification Matters
The finish protects the wood from moisture, oxidation, and daily wear. Using the wrong cleaner compromises structural integrity. Shellac dissolves in alcohol. Lacquer breaks down with harsh solvents. Varnish can become cloudy with vinegar-based solutions. Misidentifying your finish leads to irreversible damage that often requires professional refinishing, a process costing far more than proper cleaning.
Gather Essential Supplies and Tools
Before touching your furniture, assemble everything you need:
- Soft microfiber cloths (lint-free, non-abrasive)
- Distilled water (tap water leaves mineral deposits)
- Mild dish soap (one drop per cup of water)
- White vinegar (for varnished pieces only)
- Soft-bristled brush (for crevices and carved details)
- Denatured alcohol (for testing, not cleaning)
- Furniture wax or wood conditioner (after cleaning)
- Orange oil (optional, for natural wood nourishment)
Never substitute these items. A regular kitchen cloth leaves lint on the wood grain. Tap water deposits minerals that cloud the finish. Harsh soaps strip protective oils. Stiff brushes scratch delicate surfaces. Quality supplies cost little but protect your furniture investment significantly.
How to Clean Vintage Wooden Furniture: Step-by-Step Process
Step 1: Dust and Remove Surface Debris
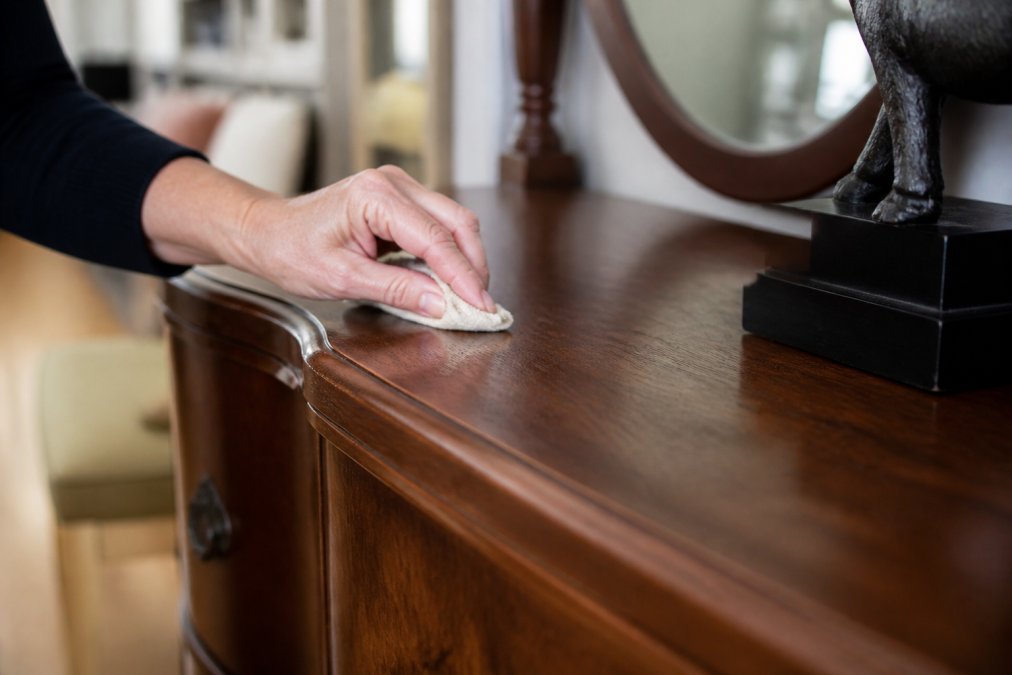
Begin by removing loose dust and particles with a soft microfiber cloth or soft-bristled brush. Never wipe against the grain, as this scratches and raises wood fibers. Pay special attention to crevices and carved details where dust accumulates. This step takes five to ten minutes and is essential, dust particles act like sandpaper when you apply liquid cleaners.
Step 2: Prepare Your Cleaning Solution
Your solution depends on your identified finish type. For varnished pieces, mix one drop of mild dish soap with one cup of distilled water. For shellac or lacquer, use only distilled water with no soap. Mix gently in a clean bowl or spray bottle. The solution should be barely cloudy. If it looks soapy, you’ve used too much soap.
Step 3: Test Before Full Application
Never apply your cleaning solution to visible surfaces without testing first. Choose an inconspicuous area: the underside of a drawer, back of a leg, or interior of a cabinet. Apply your prepared solution with a damp cloth and wait two minutes. Observe for cloudiness, tackiness, color change, or finish damage. If the test area shows no adverse reaction, proceed confidently. If you notice any problem, stop immediately.
Step 4: Clean with Gentle Technique
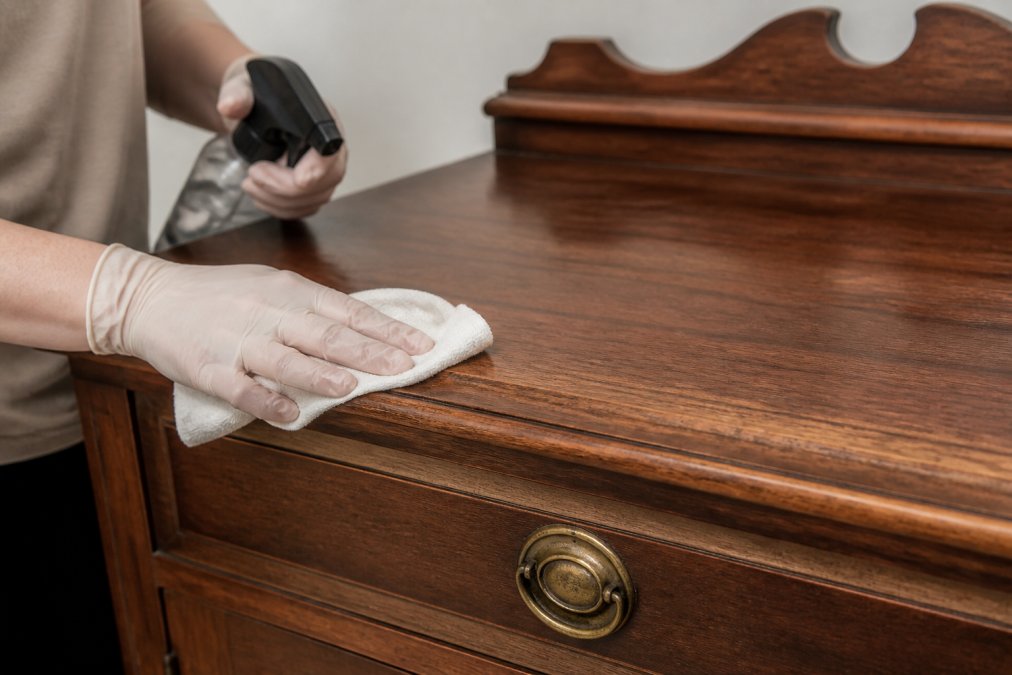
Work in small sections using a damp cloth, not wet. Wring out your cloth thoroughly so water doesn’t drip onto the wood. Wipe along the wood grain in smooth, overlapping strokes with light pressure. Let the solution do the work. Change to a clean section of cloth frequently to avoid reapplying dirt. After cleaning each section, immediately follow with a dry microfiber cloth to remove excess moisture. Plan on 20 to 30 minutes of careful cleaning for a typical dresser or table.
Cleaning Antique Wood Furniture Without Damaging Finish
The difference between cleaning antique wood furniture properly and ruining a piece often comes down to patience and restraint.
Avoiding Common Finish Damage
Water damage appears as white spots or rings when moisture penetrates the protective layer. Prevention is simple: keep your cloth damp, not wet. Scratches happen when you use the wrong tools or apply pressure against the grain. Always work with the grain using only soft cloths and brushes. Cloudiness develops when you use the wrong cleaner for your finish type, this is why the solvent test is non-negotiable. Loss of patina occurs when you over-clean. Patina, the subtle color variations and slight surface wear that develops over decades, is part of your furniture’s character and value.
When to Stop Cleaning
Your goal is to remove surface buildup and dust, not to restore the furniture to like-new condition. Vintage pieces should look vintage. If you’ve cleaned thoroughly and the surface still shows stains or discoloration, stop. Additional cleaning won’t help and will only risk damage. Some marks are part of the furniture’s history.
Continuing to clean after you notice finish damage can turn a minor issue into irreversible harm. The moment you see any sign of a problem, stop, dry the area completely, and reassess your approach.
Homemade Wood Cleaner for Vintage Furniture
Commercial cleaners often contain harsh chemicals that damage vintage finishes. Natural solutions work effectively and cost significantly less.
Mild Dish Soap Solution
One drop of mild dish soap in one cup of distilled water creates an effective, gentle cleaner for varnished pieces. The soap breaks down surface oils and grime without attacking the finish. Distilled water prevents mineral deposits that tap water leaves behind. Apply with a damp cloth, never wet, and follow immediately with a dry cloth to remove excess moisture.
White Vinegar and Water Mix
For varnished pieces only, equal parts white vinegar and distilled water address stubborn buildup. Never use vinegar on shellac or lacquer finishes. Test on an inconspicuous area first. This solution works particularly well on kitchen tables that accumulate cooking residue.
Natural Solutions vs. Commercial Products
Commercial wood cleaners often contain silicone oils, waxes, and solvents that build up over time, creating a cloudy, sticky residue. Natural solutions clean effectively without buildup, cost less, and are safer to handle. The trade-off is that natural solutions require more technique and attention to moisture levels and drying time, precisely what vintage furniture needs.
How to Remove Grime from Old Wood Furniture
Tackling Stubborn Buildup and Residue
Start with your basic cleaning solution. If grime doesn’t lift after one pass, repeat the process rather than applying more pressure. Multiple gentle passes work better than aggressive scrubbing. For textured or carved surfaces, use a soft-bristled brush with your cleaning solution, brushing gently along the wood grain. If buildup persists, allow your cleaning solution to sit for two to three minutes before wiping. Some buildup is permanent without professional restoration, and attempting to remove it risks greater damage.
Addressing Mold and Pest Concerns
For surface mold, clean with a cloth barely dampened in white vinegar. Ensure the piece dries completely in sunlight if possible. For deeper mold or pest concerns, consult a professional furniture restorer. At Le Rouge Tete, our team inspects all consignment pieces for structural damage and pest issues before accepting them.
How to Protect Vintage Wood Furniture After Cleaning
Proper Drying Techniques
Allow your furniture to dry completely before applying any protective products, typically 24 hours in normal room conditions. Ensure good air circulation. Never place cleaned furniture in direct sunlight immediately after cleaning, as rapid drying can cause warping or cracking. Avoid humid environments during drying. Once fully dry, the surface should feel smooth and dry, never tacky.
Conditioning and Nourishing Wood
After drying, condition your wood to replenish natural oils and protect the grain from oxidation. Furniture wax provides a protective layer and enhances appearance. Apply a thin coat with a soft cloth, working along the grain, and buff after 15 to 20 minutes. Wood conditioner with orange oil nourishes the wood while adding subtle sheen. Apply sparingly, one coat of wax every three to six months is sufficient for most pieces.
Hardware Restoration and Care
Clean hardware with the same gentle approach you use for wood. For brass or bronze, use a soft cloth barely dampened in white vinegar. For iron hardware, prevent rust by ensuring the piece stays dry. Never replace original hardware unless damaged beyond repair, original hardware adds authenticity and value.
Common Mistakes to Avoid
Using tap water leaves mineral deposits that cloud the finish. Always use distilled water. Applying too much liquid introduces moisture damage. Your cloth should be damp, never wet. Cleaning against the grain scratches the surface. Always work along the grain. Using commercial cleaners without testing can damage finishes irreversibly. Skipping the solvent test leads to using the wrong cleaner. Applying pressure scratches finishes and forces moisture into wood. Over-cleaning removes patina and character. Placing furniture in direct sunlight after cleaning causes uneven drying and warping.
Cleaning vintage wooden furniture properly requires knowledge, patience, and the right supplies, but the process isn’t complicated once you understand your finish type and follow proven techniques. When you’re ready to source quality vintage pieces, Le Rouge Tete offers carefully inspected furniture that’s already been professionally evaluated for condition. Our 50/50 consignment split and convenient local pickup service make it easy to build a beautiful home with pre-loved furniture that’s been properly maintained. Contact us to explore our current inventory or discuss consigning your own pieces.
| Cleaning Step | Duration | Frequency | Key Consideration |
|---|---|---|---|
| Dust and remove debris | 5-10 minutes | Before each cleaning | Work with the grain only |
| Test cleaning solution | 5 minutes | Before first use | Check inconspicuous area first |
| Apply cleaning solution | 20-30 minutes | As needed | Keep cloth damp, not wet |
| Dry thoroughly | 24 hours | After each cleaning | Slow drying prevents warping |
| Condition and wax | 15-20 minutes | Every 3-6 months | Apply thin coats only |
According to the American Furniture Manufacturers Association guidelines for vintage furniture care, proper cleaning and maintenance can extend the life of wooden furniture by decades while preserving its original character and value. Research from the Smithsonian Institution’s furniture conservation standards emphasizes that identification of finish type is the critical first step in any cleaning process. The National Trust for Historic Preservation’s recommendations on furniture restoration consistently stress that gentle, patient cleaning prevents the need for expensive professional restoration later.
Frequently Asked Questions
What is the best homemade cleaner for vintage wood furniture?
A gentle mixture of mild dish soap and distilled water works well for most vintage wooden furniture. Mix a few drops of mild dish soap into a bowl of distilled water, dampen a soft microfiber cloth, and wring it out thoroughly before wiping the wood grain. For tougher grime, white vinegar diluted with distilled water can help remove residue. Always test any cleaner on an inconspicuous area first to ensure it won't damage the wood finish or patina.
How do you remove years of grime from old wood furniture without stripping the finish?
Start with the gentlest approach: dust thoroughly with a soft microfiber cloth, then use a barely damp cloth with mild dish soap and distilled water. For stubborn surface buildup, let the damp cloth sit on the area for a few minutes to soften the grime before gently wiping. Avoid harsh degreasers or solvents that can compromise varnish, shellac, or lacquer finishes. If buildup persists, consult a professional wood restoration specialist rather than risk damaging the piece's finish integrity.
How do you clean antique wood furniture without damaging the finish?
Identify your wood finish first, test with a solvent on a hidden spot to determine if it's varnish, shellac, or lacquer. Always use distilled water instead of tap water to prevent mineral deposits. Work with a damp (not wet) soft microfiber cloth, and buff dry immediately. Avoid excessive moisture, which causes wood oxidation and moisture damage. Never use abrasive materials or commercial degreasers. Test any cleaning solution on a small, inconspicuous area before applying it to visible surfaces.
What should you do after cleaning vintage wood furniture to protect it?
After cleaning, dry the wood immediately with a lint-free cloth to prevent moisture damage. Once fully dry, consider applying a wood conditioner or furniture wax to nourish the wood pores and restore the wood's natural appearance. Products with orange oil can enhance the patina while providing protection. For hardware, gently clean and dry metal components, then apply a thin coat of furniture wax for shine and corrosion protection. Allow adequate drying time before moving or using the furniture.
This article was written using GrandRanker